External Restoration
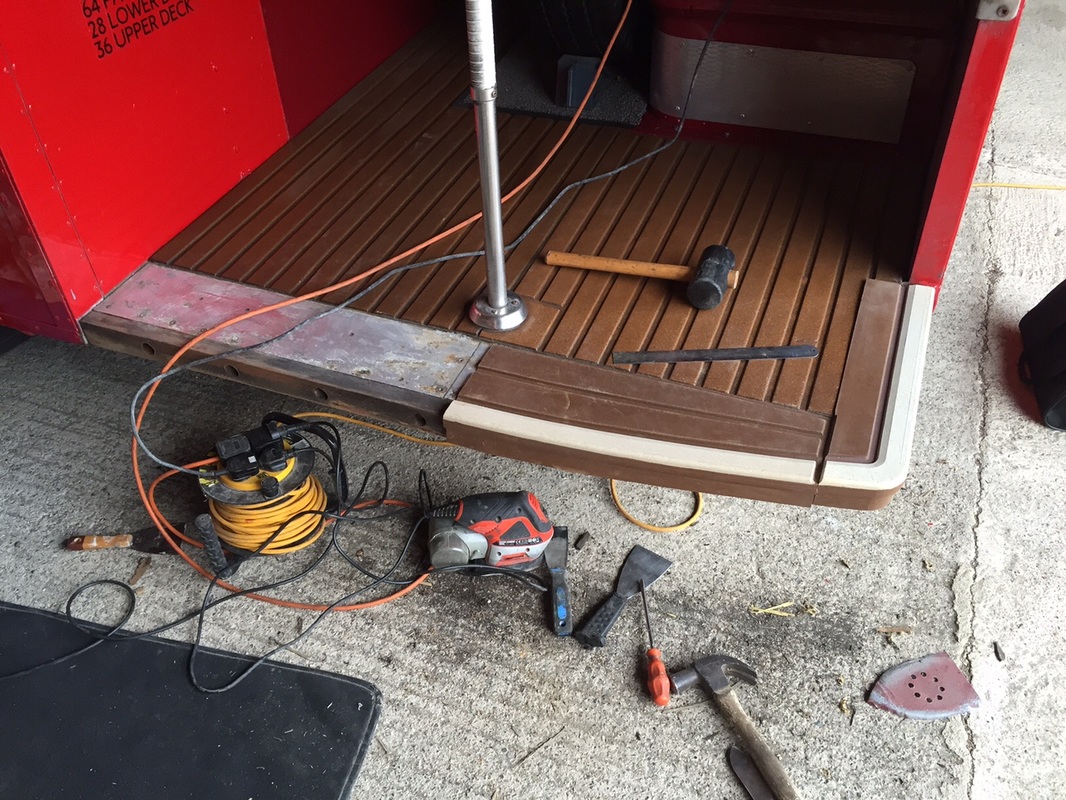
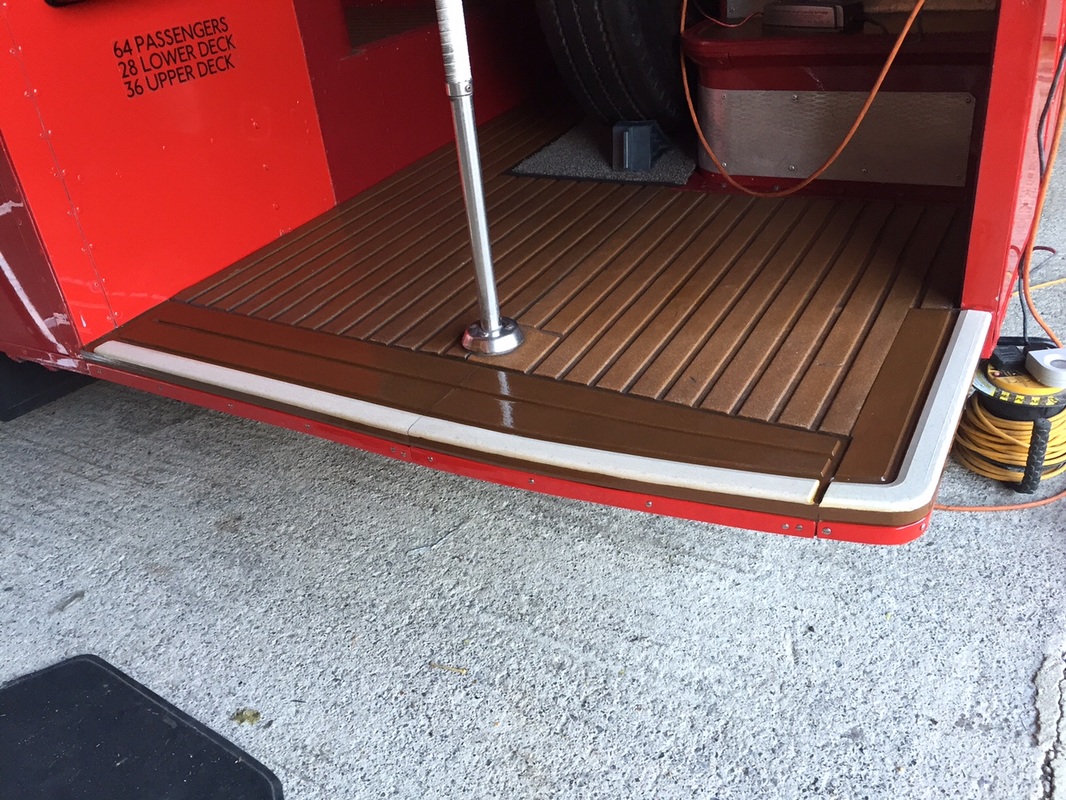
Replacement of platform floor edging
A batch of the white treadmaster platform edging was re-produced and we got a set to replace the existing yellow and black edging on RM1033. These pictures show the process of replacing the flooring.


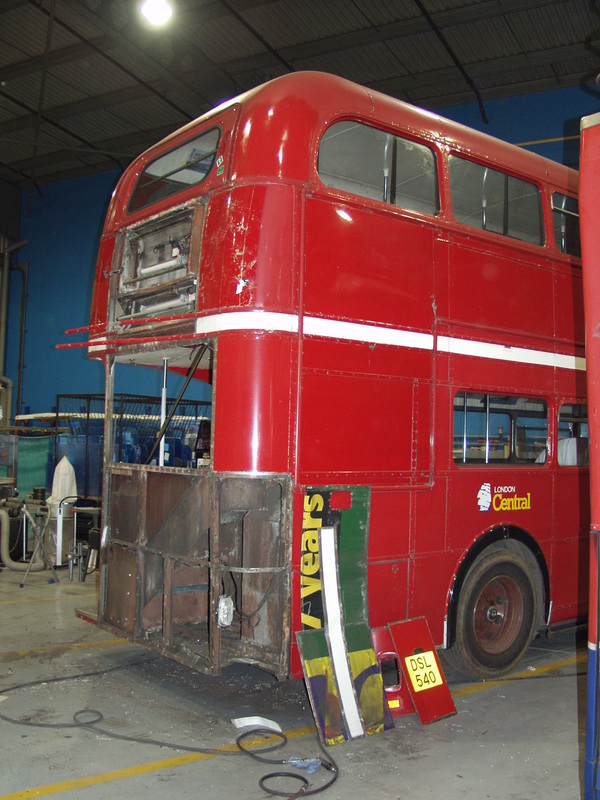
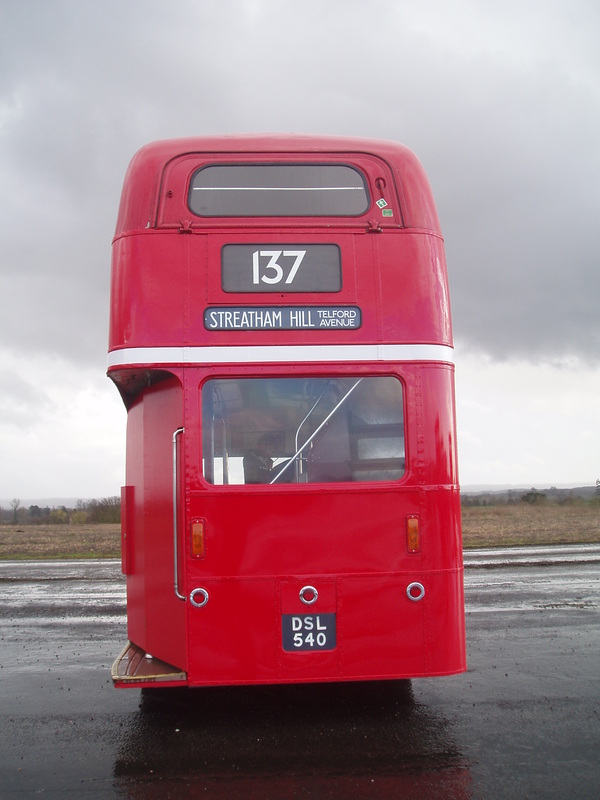
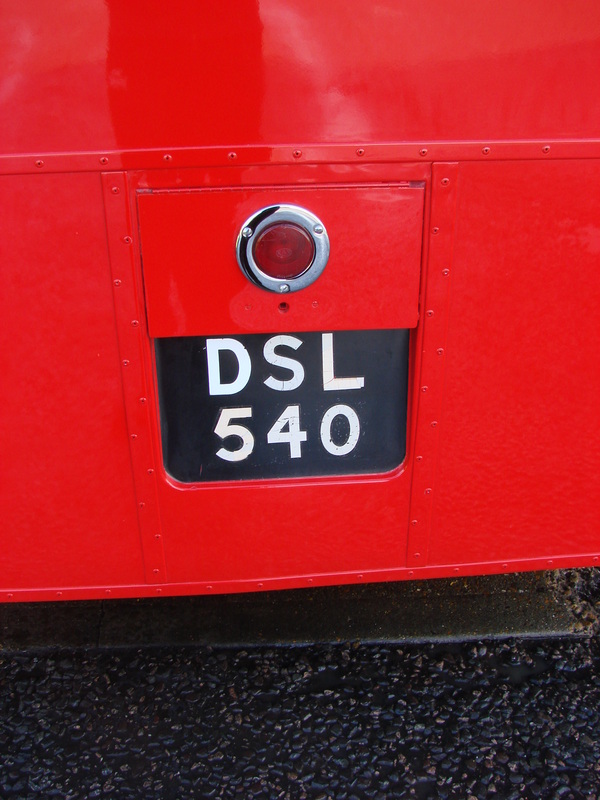
Restoration of original style rear lights and framework repair
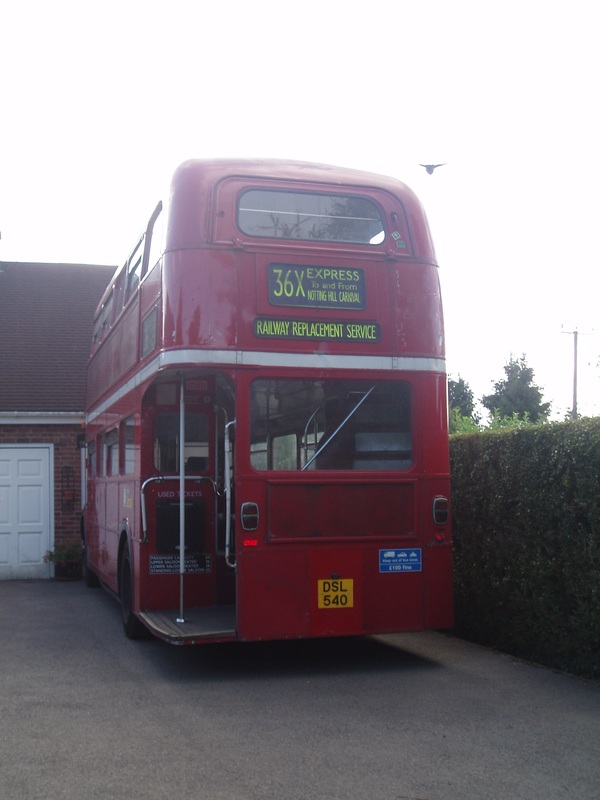
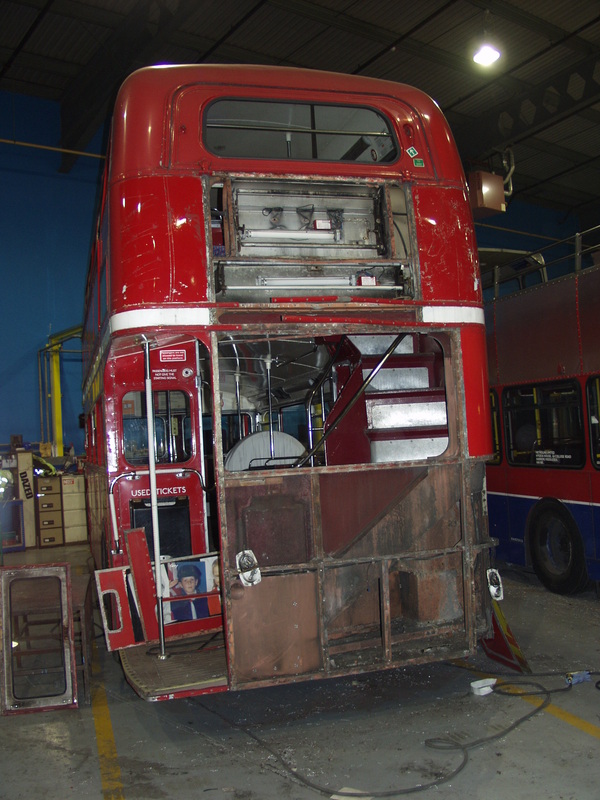
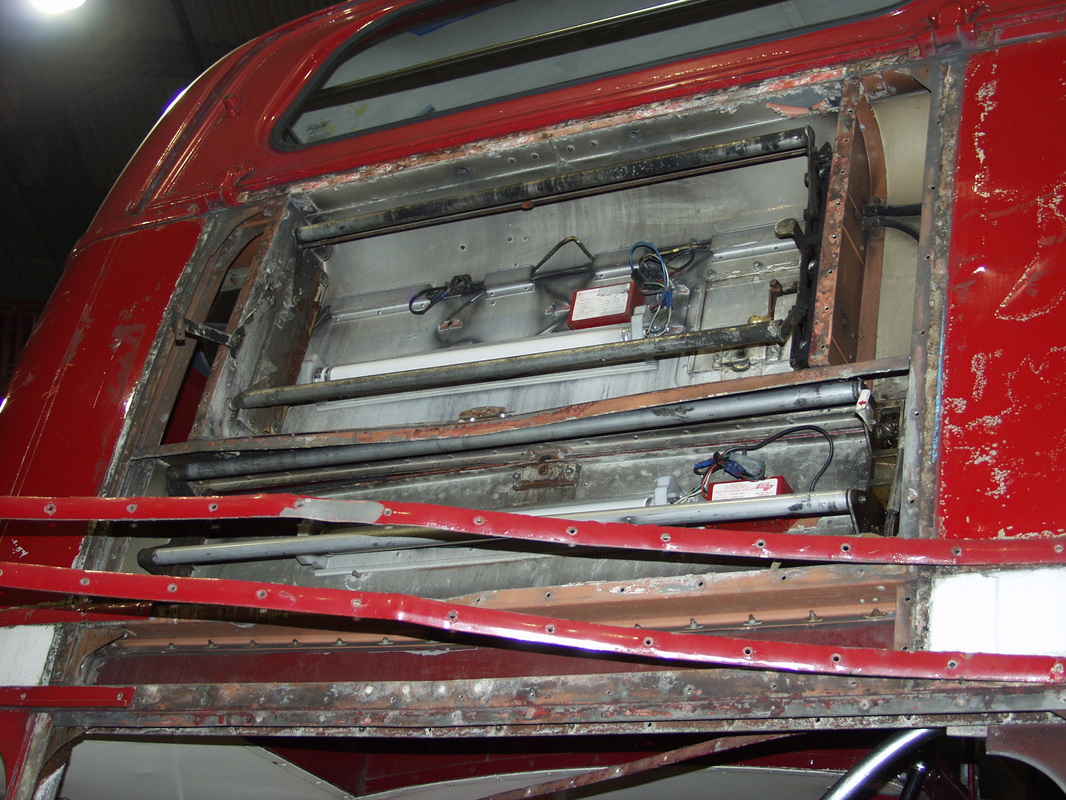
Between us buying and collecting RM1033, she sustained a big dent in the rear, which was hard enough to also bend the framework. In early 2006 she went back to Ensign for the repair to take place, and as the framework was so bent, the back end off RML2357 was fitted instead of repairing RM1033's own. We also took this opportunity to have the original style rear lights refitted, and the finished result can be seen below.
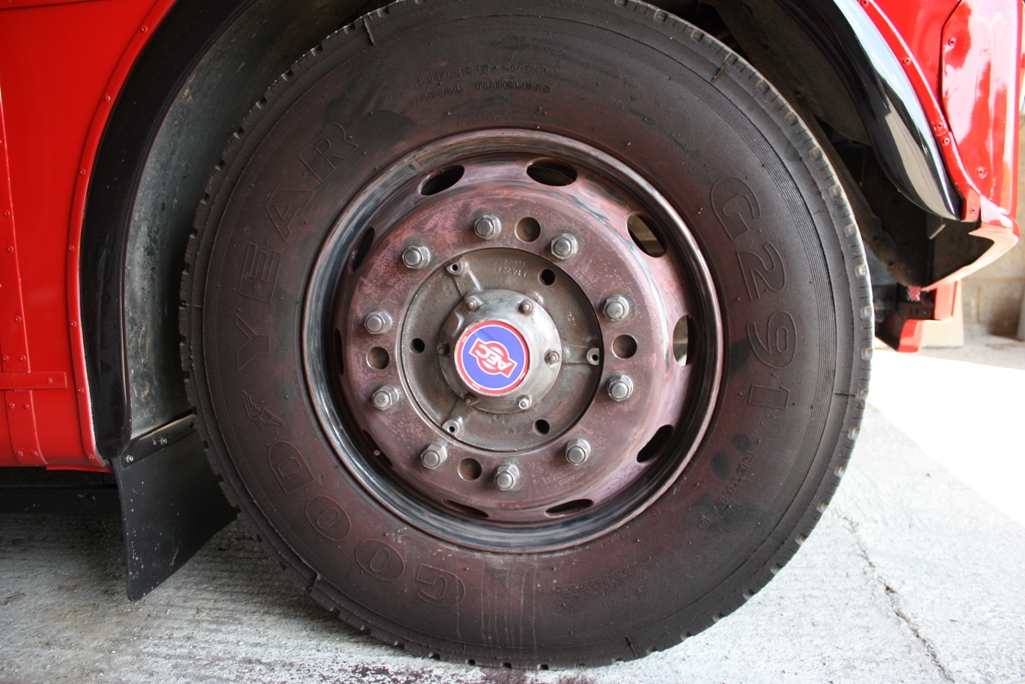
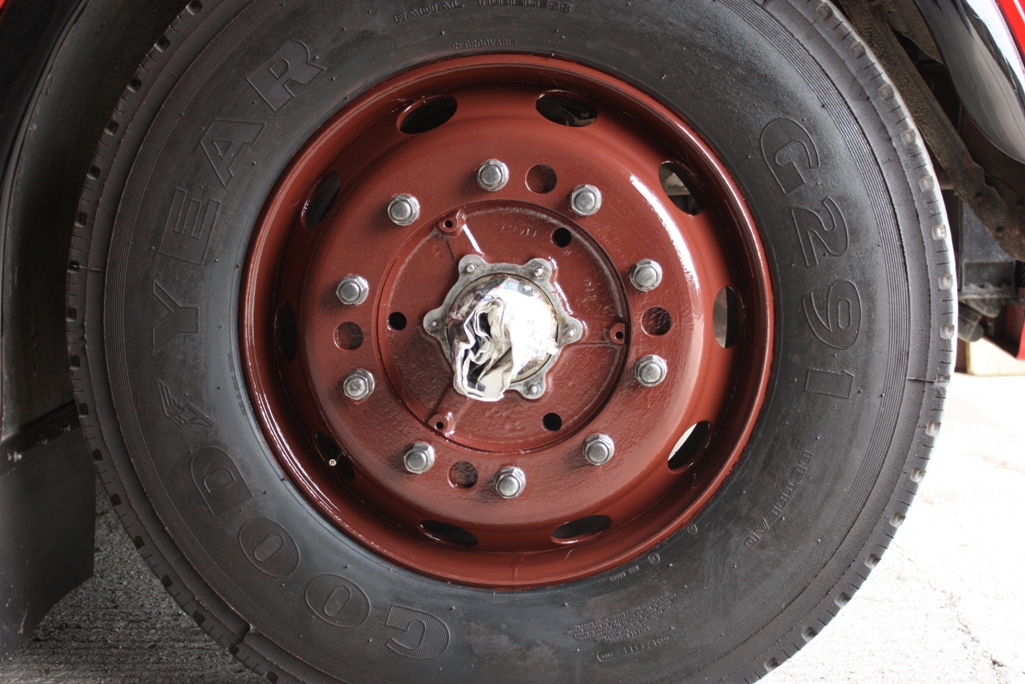
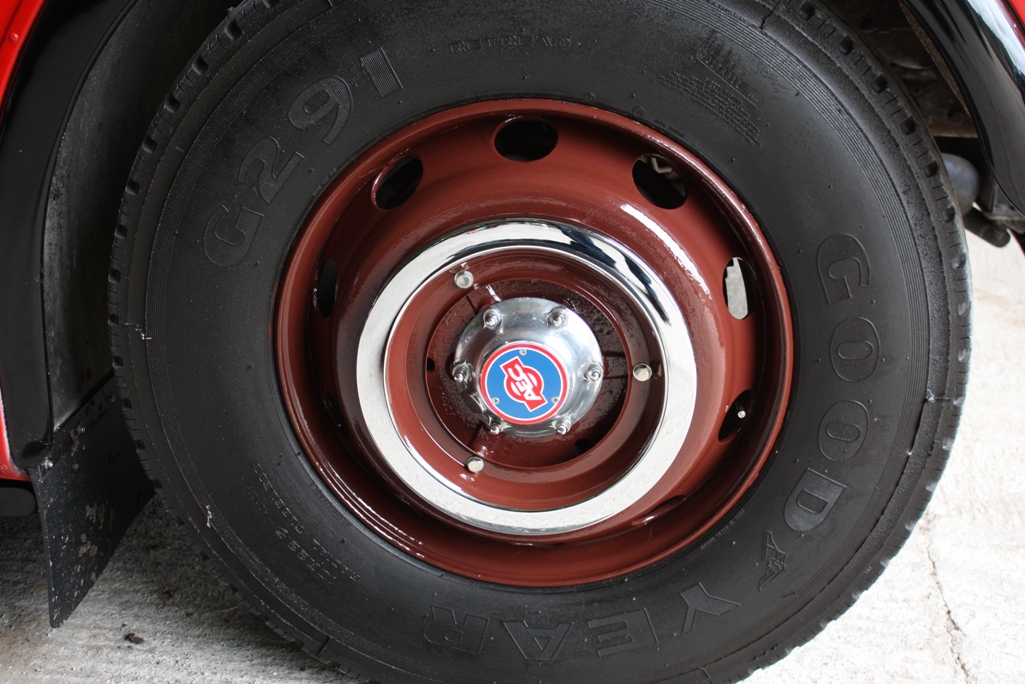
Repainting of the wheels
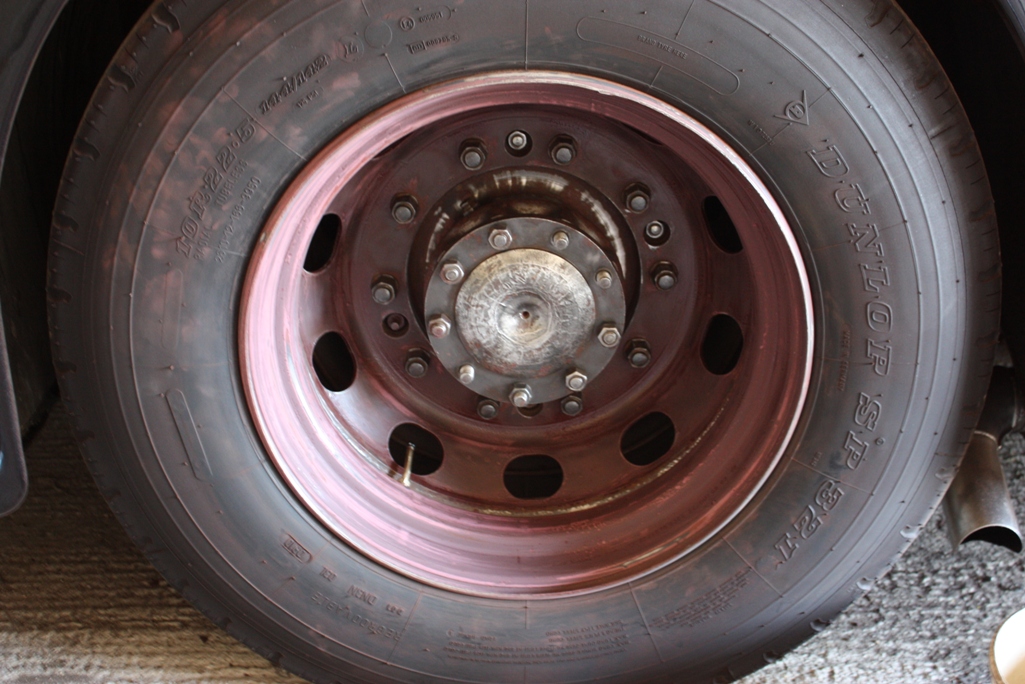
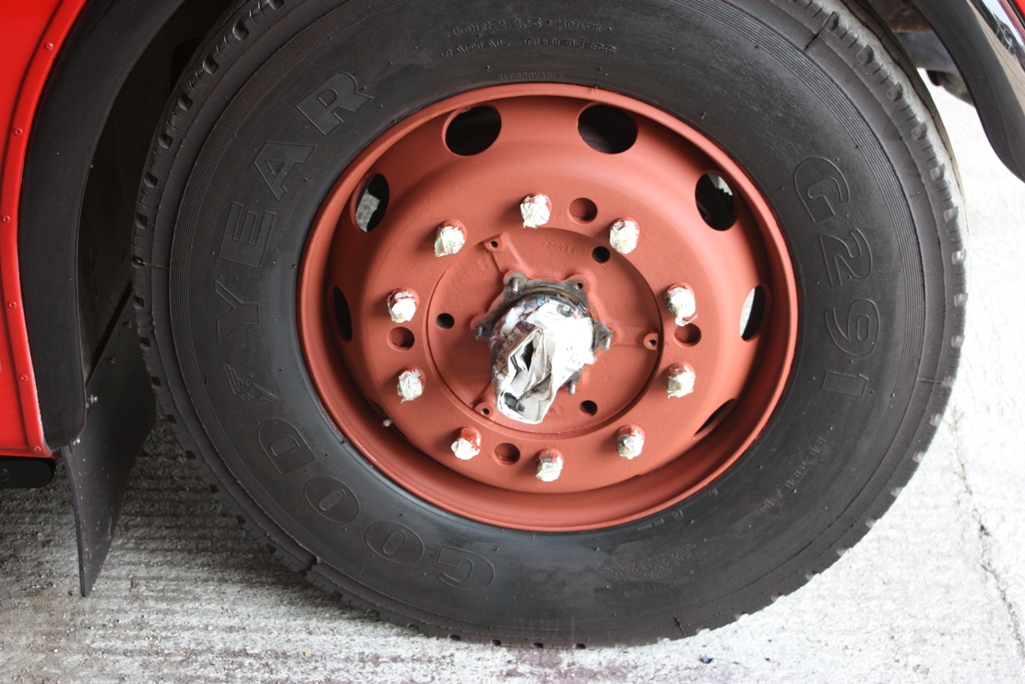
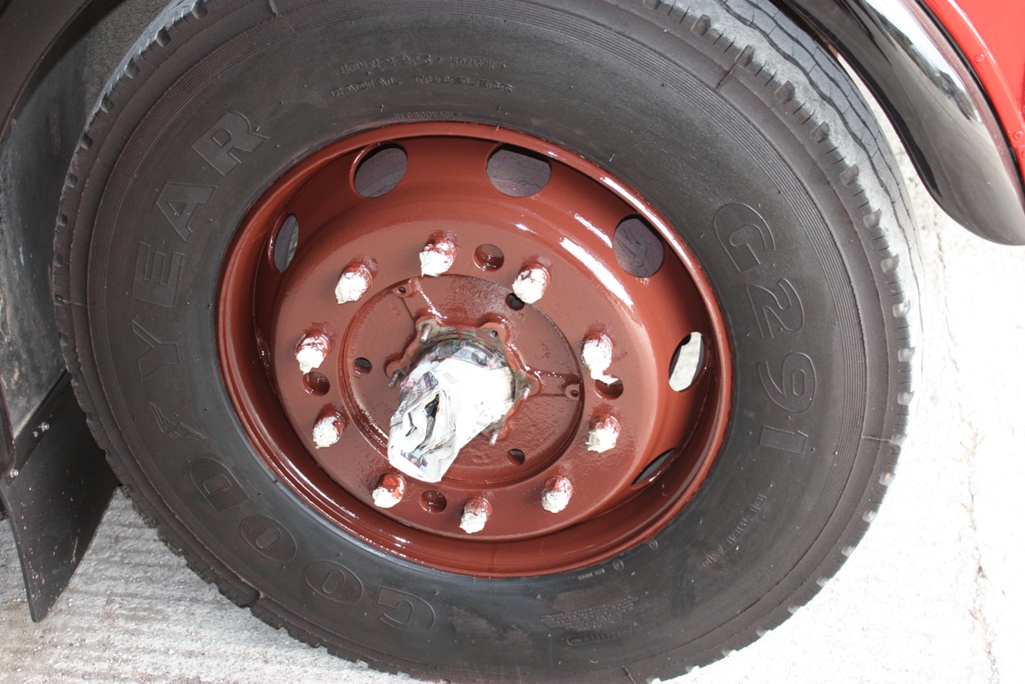
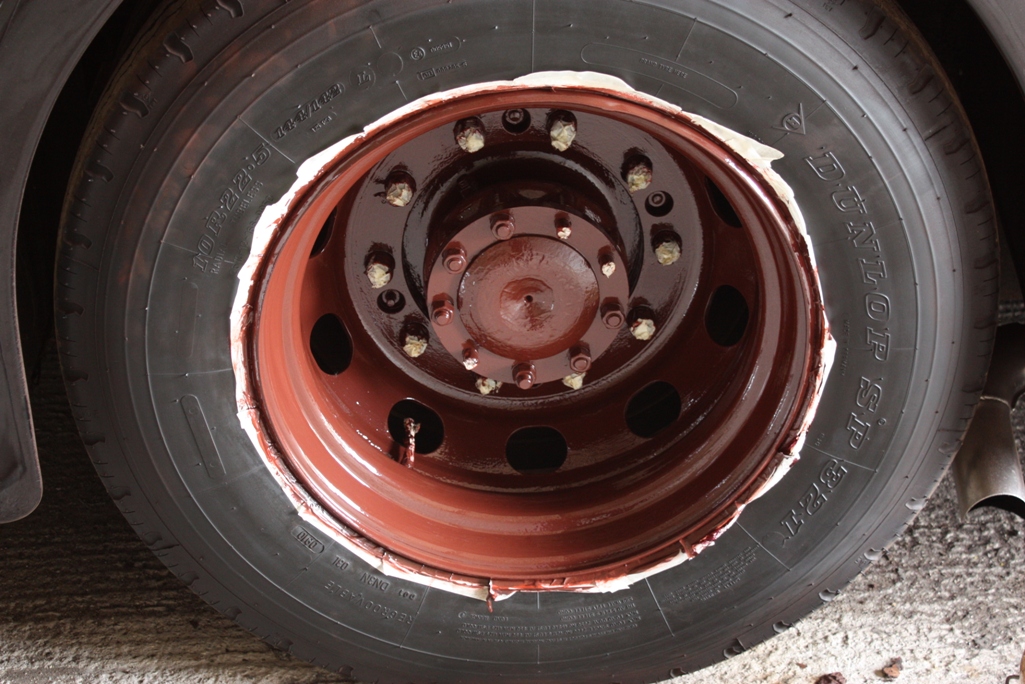
The wheels on RM1033 were starting to deteriorate a few years after repainting as they hadn't been done particularly thoroughly before. The rear wheels in particular were starting to rust where water had settled in them after trips out in the rain. We decided we would strip the wheels back and repaint them thoroughly. The following pictures show the stages of the work, with the offside front and rear wheels shown.
Click on the pictures for bigger ones with descriptions.
Click on the pictures for bigger ones with descriptions.


Fitment of indicator 'ears'
As with most other Routemasters in London towards the end, RM1033 had the newer style indicators fitted in place of the original style 'ears'. We acquired a set of the ears to put back on RM1033, and at the same time took the opportunity to repanel the nearside where the radio box had been installed as the radio itself had already been removed from the cab.
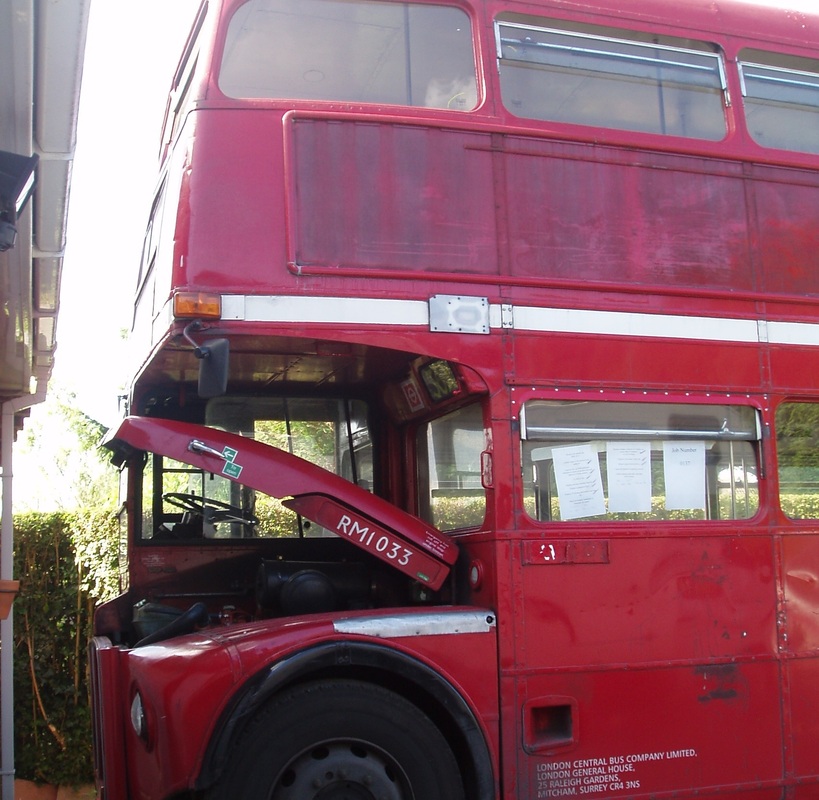

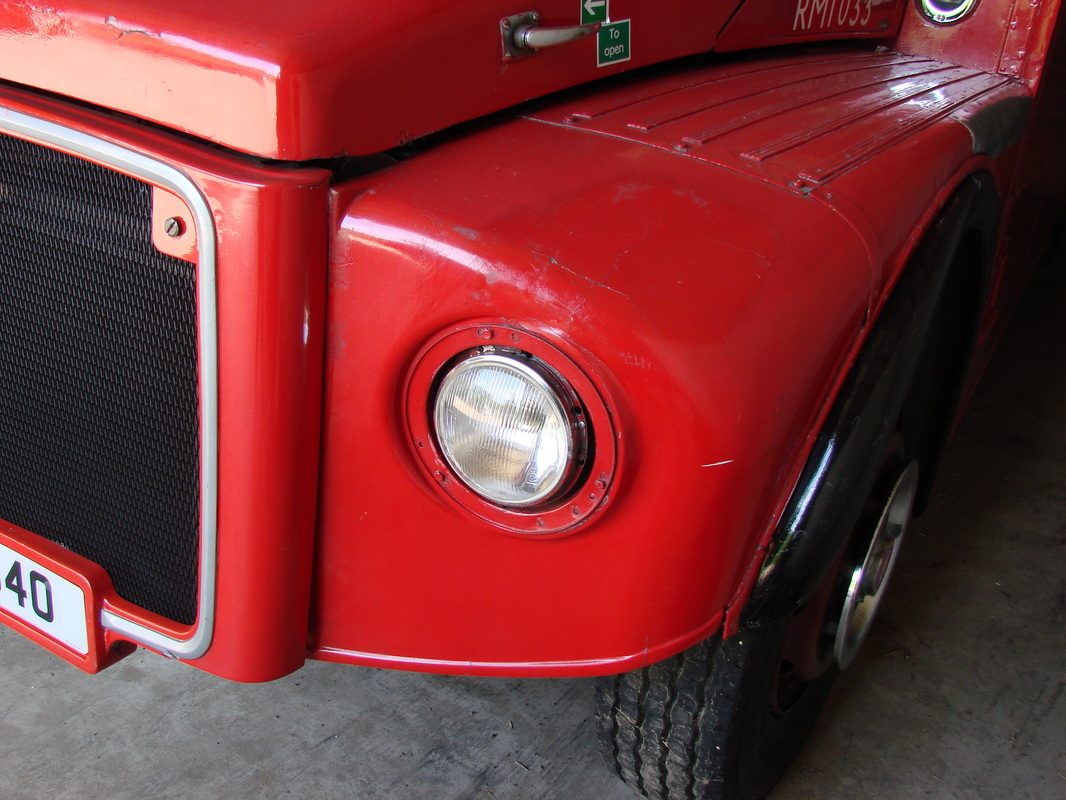
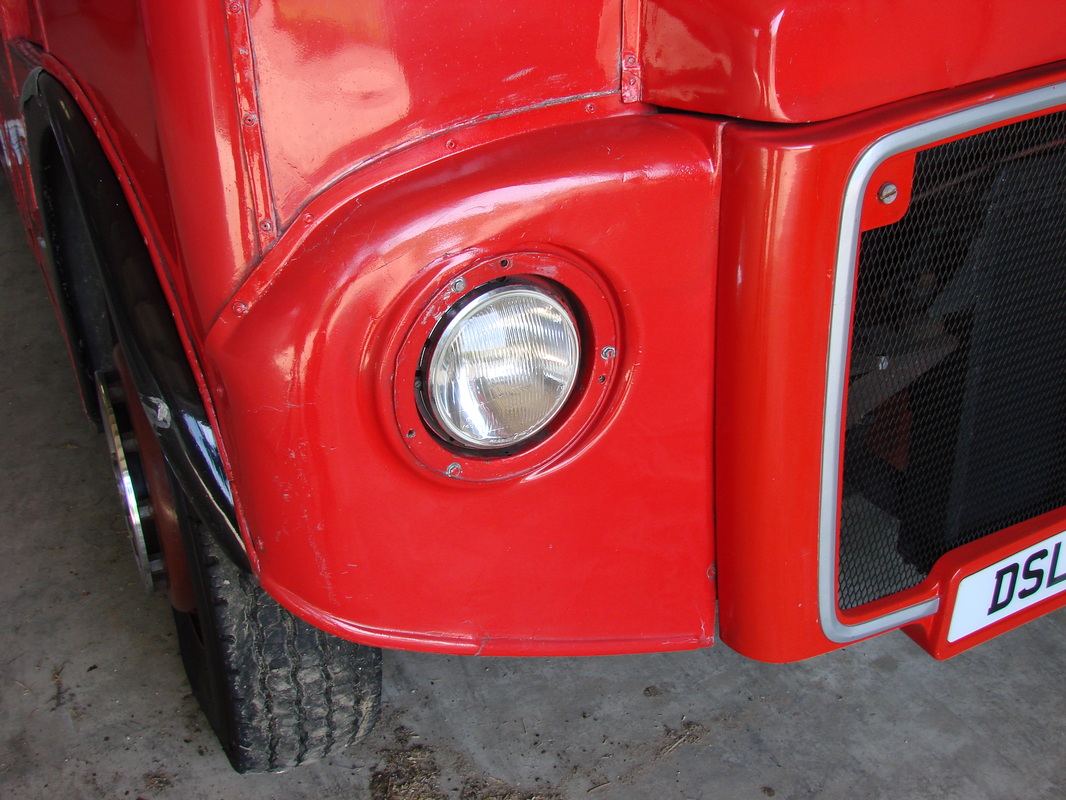
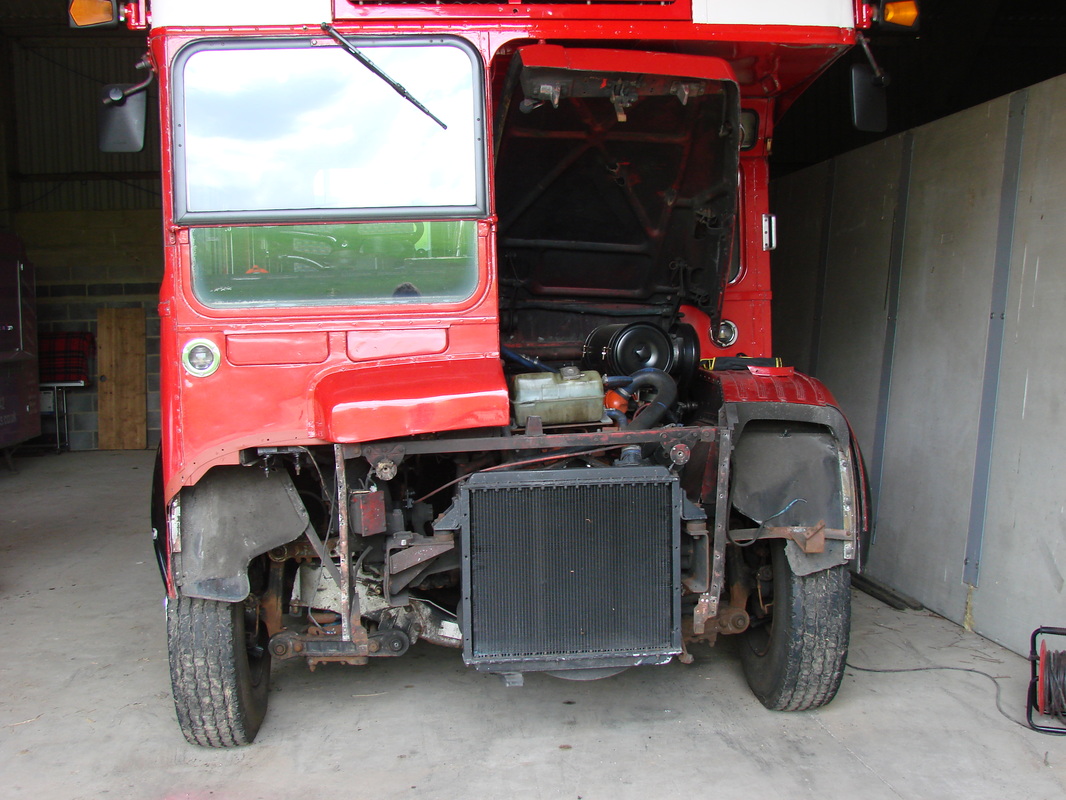
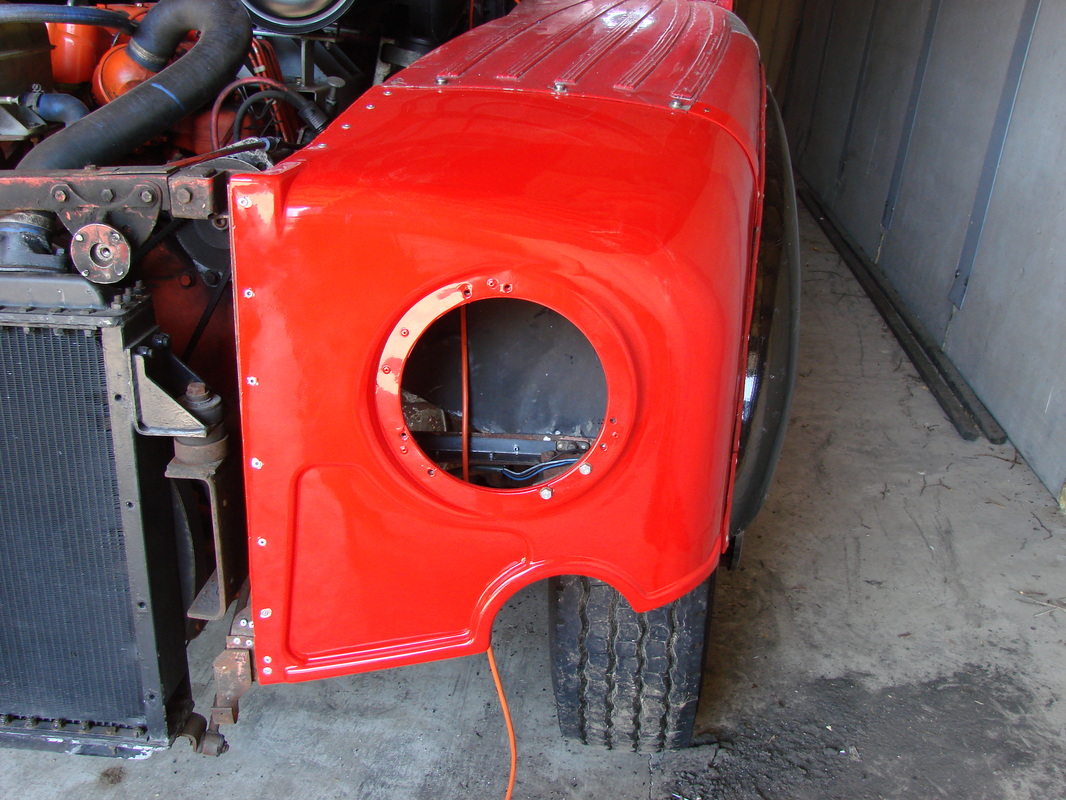
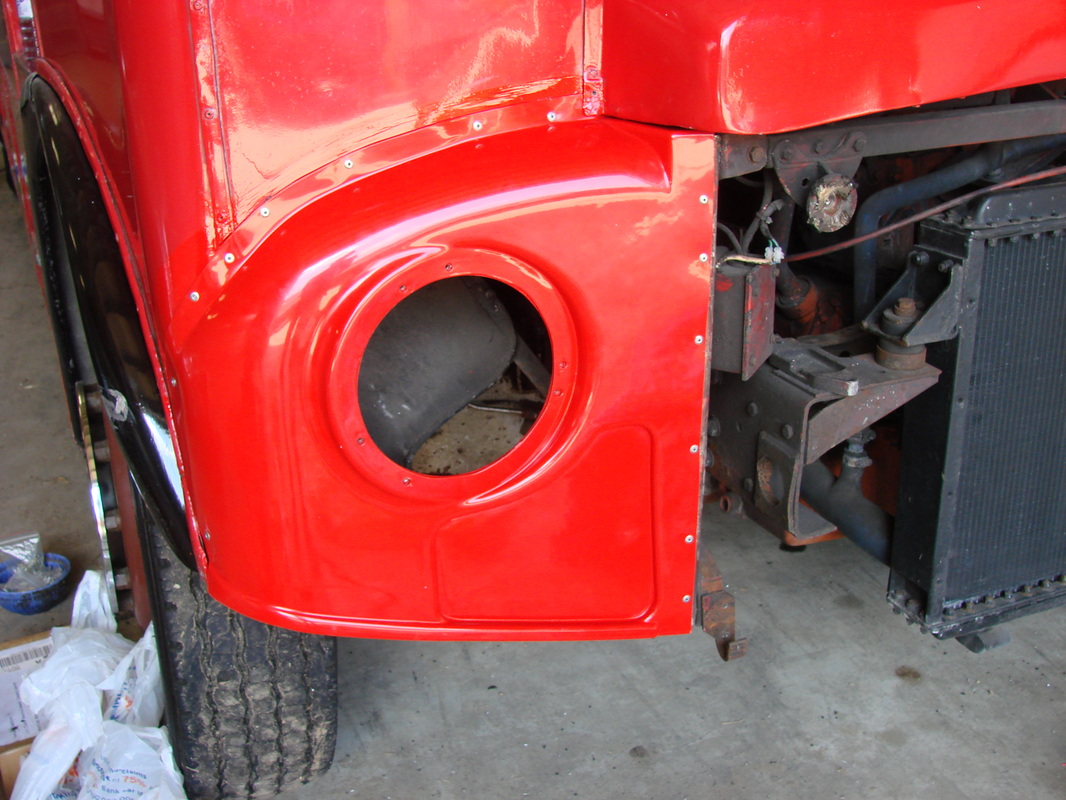
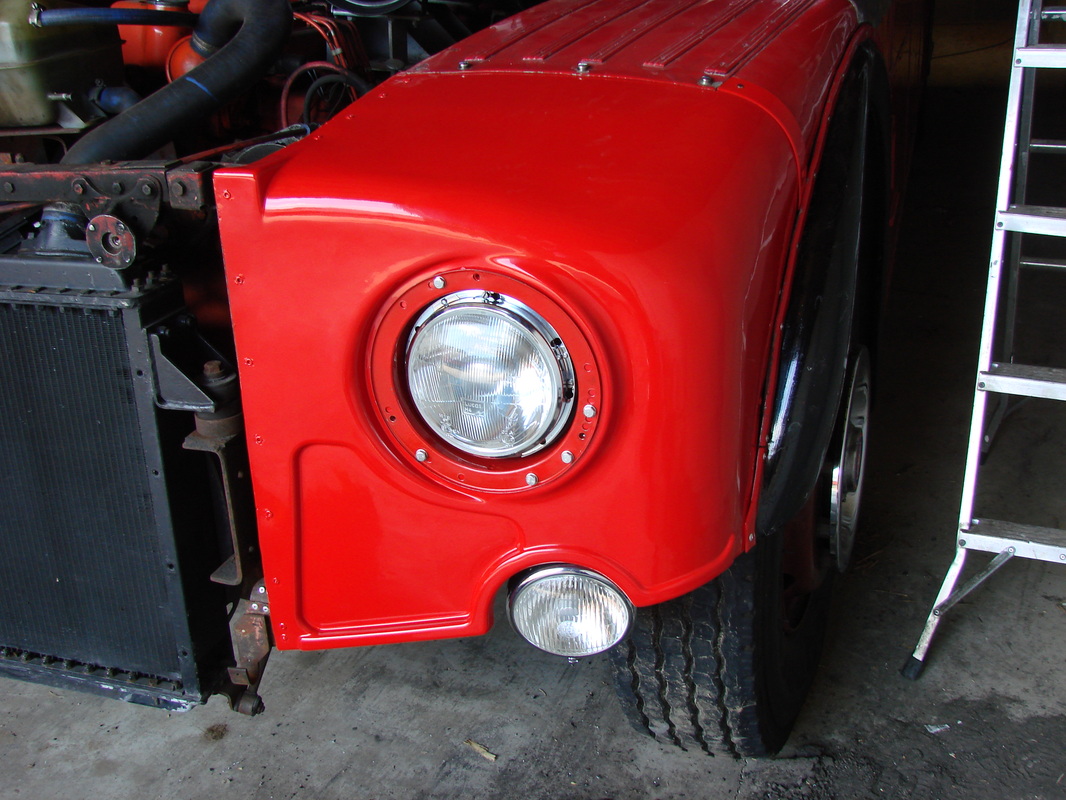
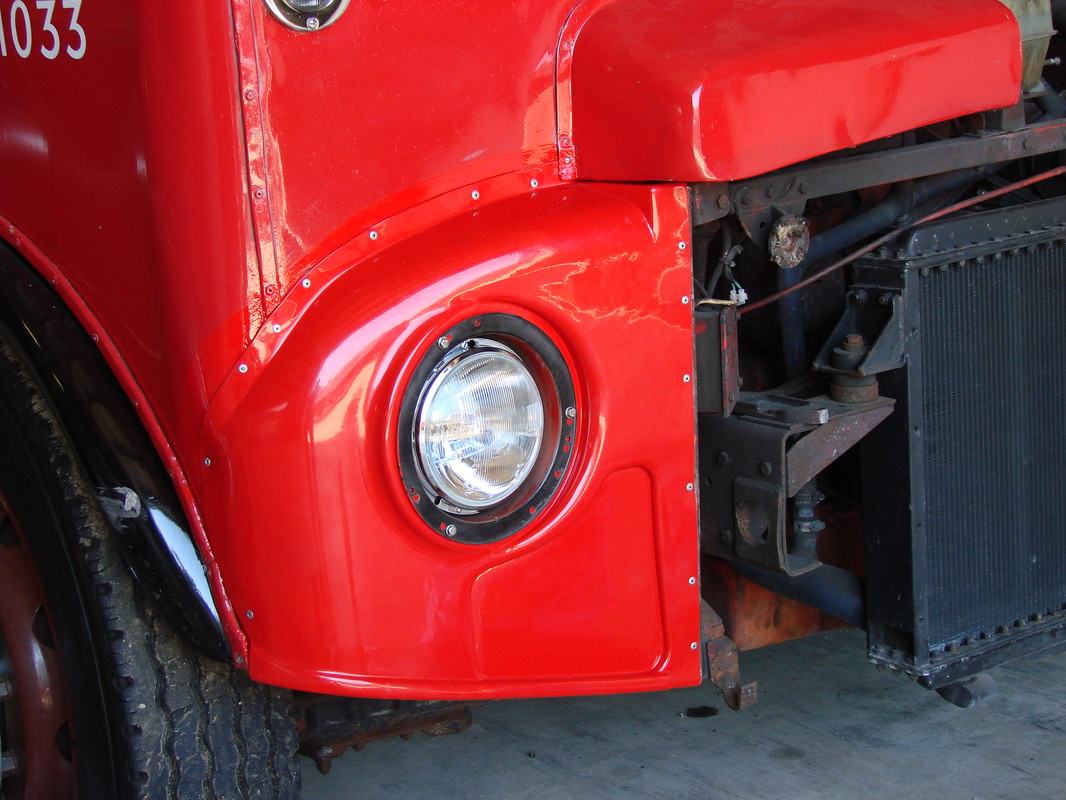
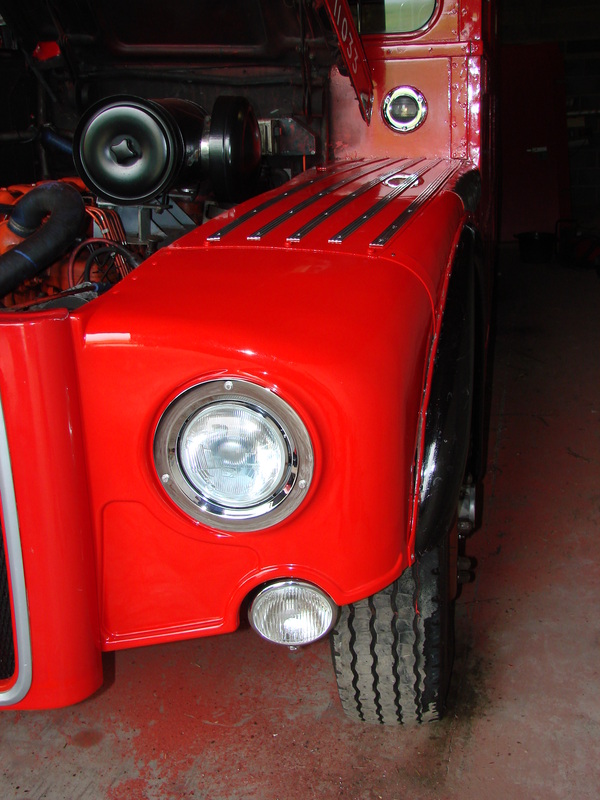
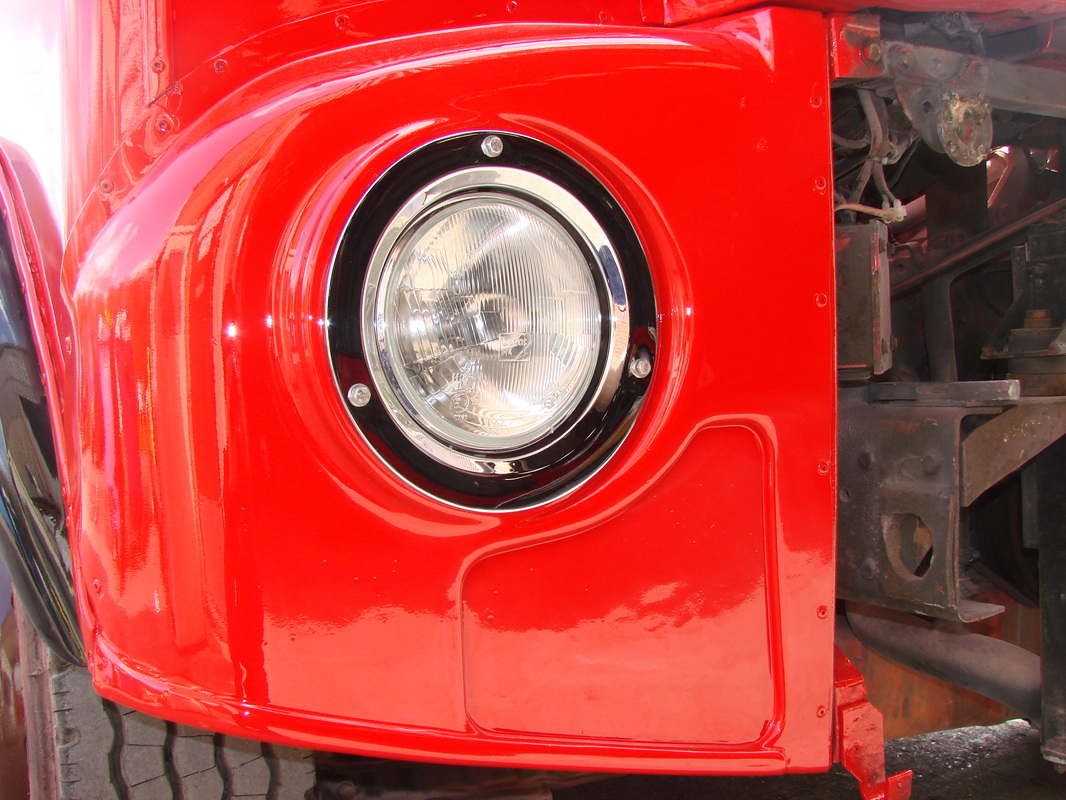
Replacement of headlight panels
RM1033 was fitted with RML style wings at some point during her life and as these had filler all over them and were literally falling to pieces, we decided to change them for a set of new RM wings with the foglight cutout and blanked off brake cooling grills. First the old panels were removed which revealed a lot of bent framework underneath the nearside, which was straightened out as best as possible. The wiring for the foglight was traced back to a box on the engine bulkhead so a new piece of wire was joined and the panels all replaced. However the foglight was tried and it didn't work, so the switch panels in the cab were taken off to reveal a switch in place with no contacts. This was replaced, and the foglight worked! Chromed headlight surrounds were also fitted, and the rest of the nearside wing given a paint with the metal strips polished up.
Click the pictures for bigger ones and descriptions.
Click the pictures for bigger ones and descriptions.


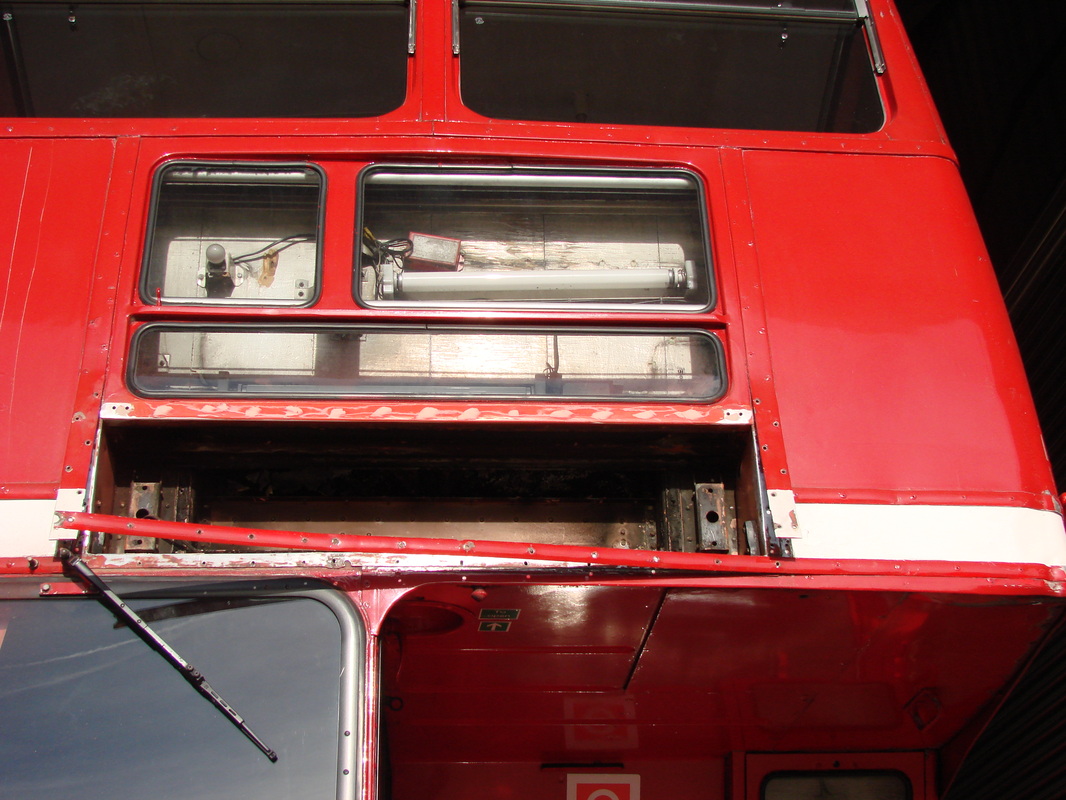
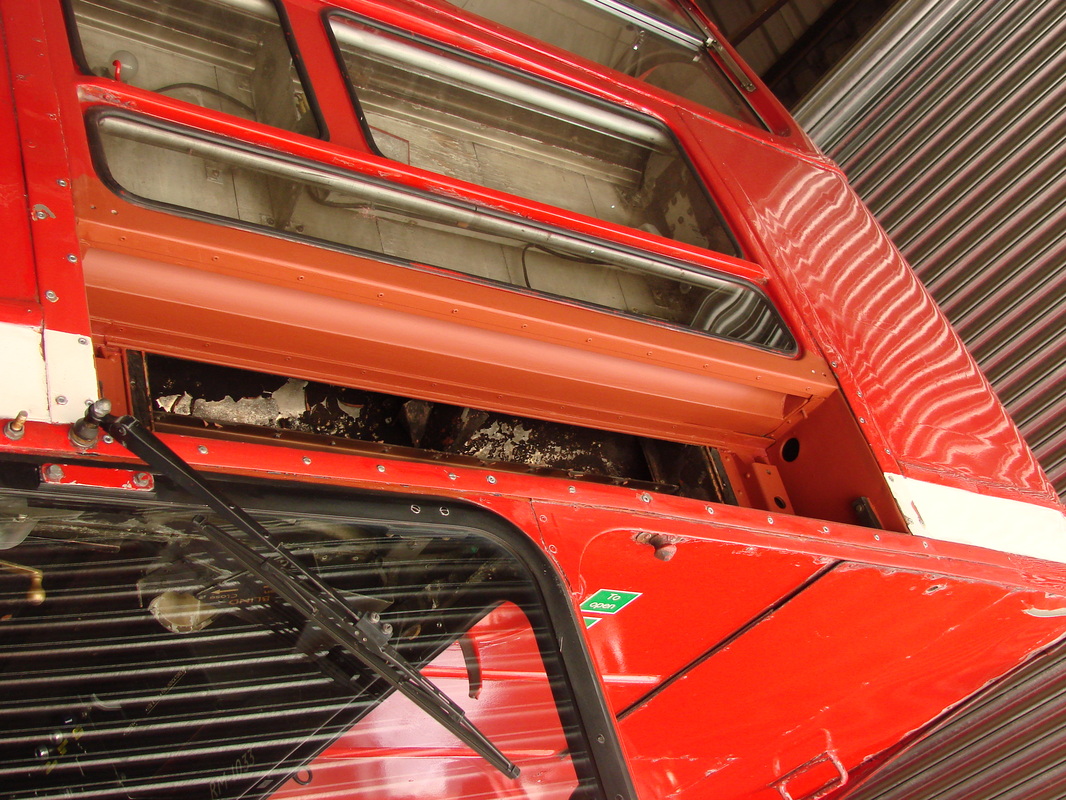
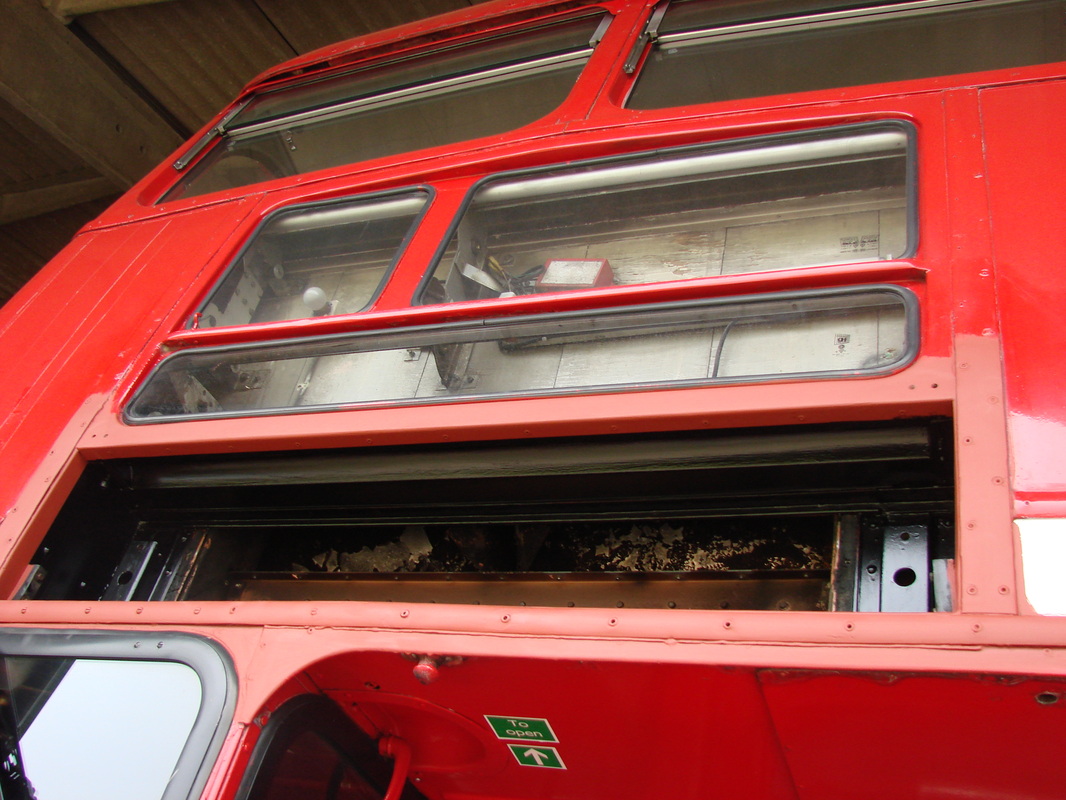
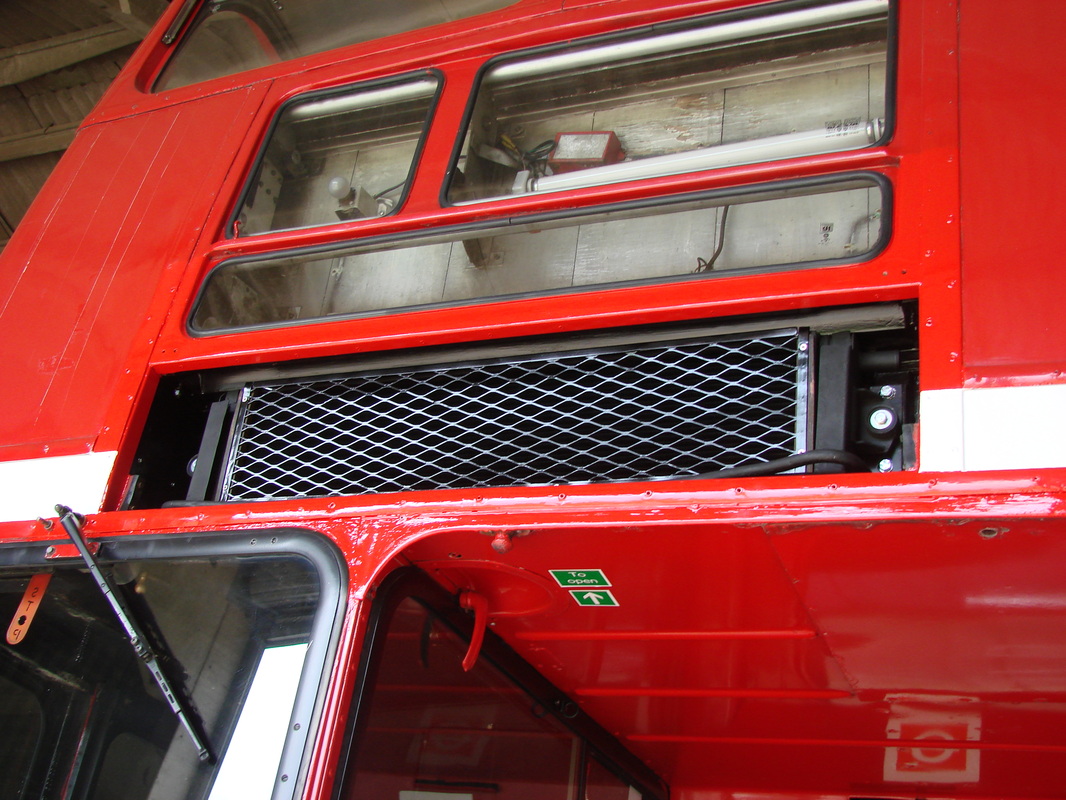
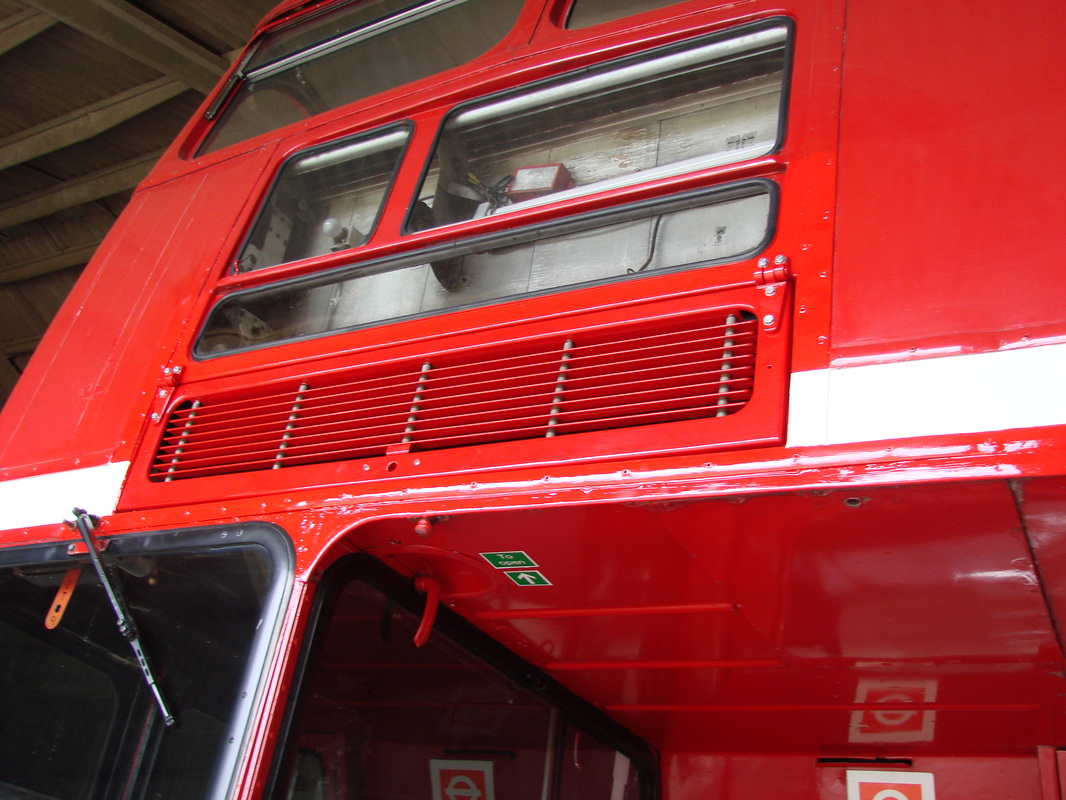
Fitting of air intake grill
During RM1033's refurbishment in 2000, the original air intake grill for the heating system was replaced with a blank panel, and the old radiator for the heating system removed. We managed to acquire both a grill and radiator, and so in spring of 2007 set about fitting them. First the old panel was removed and the unnecessary holes filled, them both inside and outside painted, the radiator refitted and finally the restored grill refitted.
Click the pictures for bigger ones and descriptions.
Click the pictures for bigger ones and descriptions.

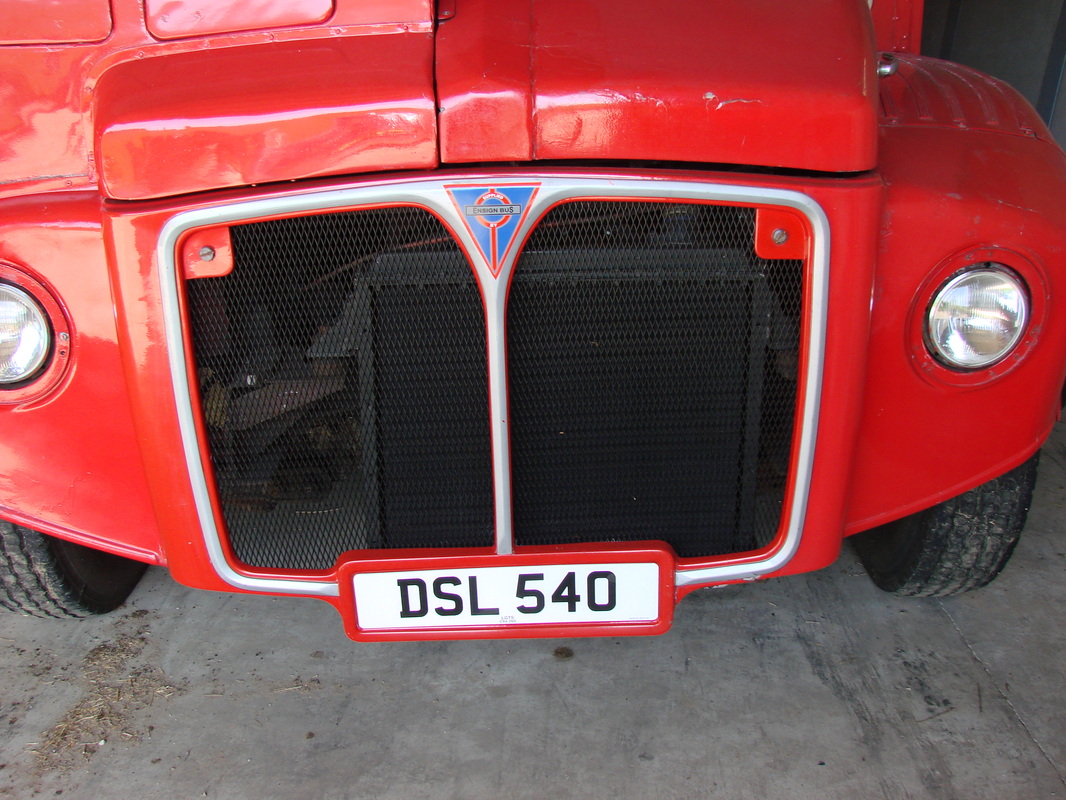
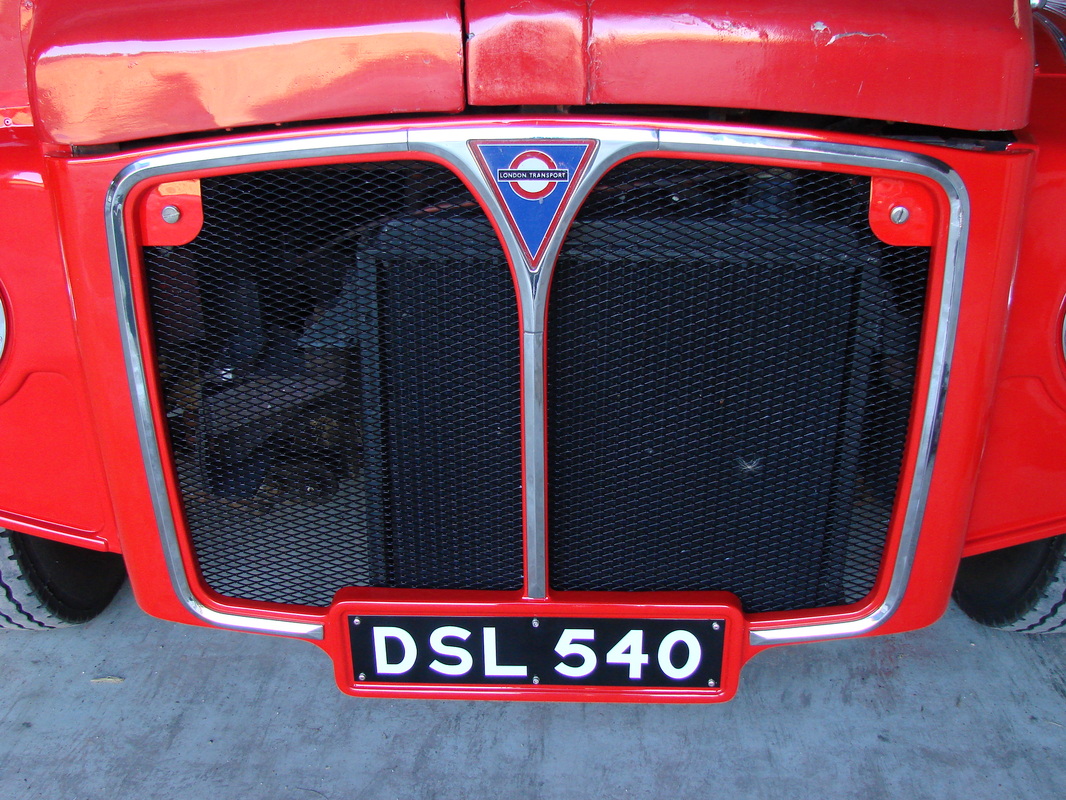
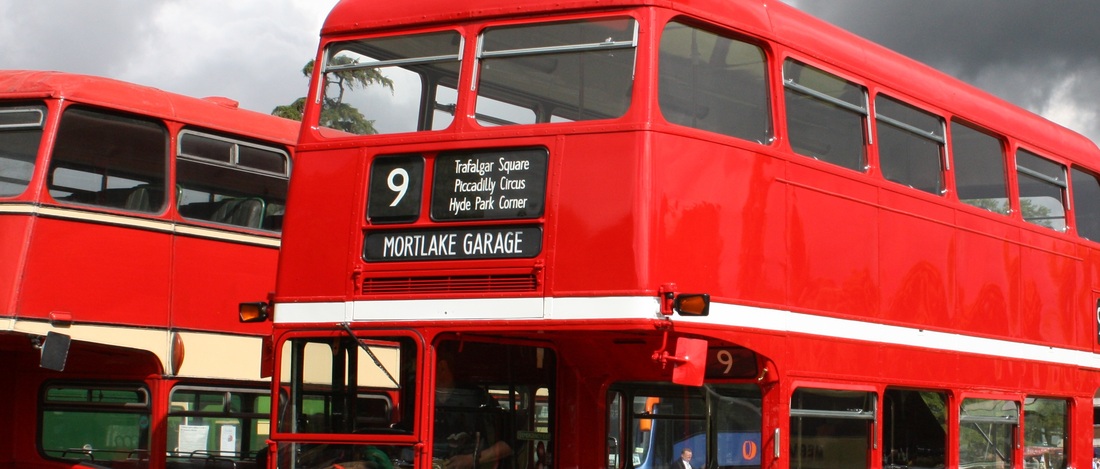
Replacement of radiator grill back to original style
RM1033 was fitted with a new fibreglass radiator grill a few years before withdrawal, which while structually OK, just didn't look the same as the original type. We slowly built up an original grill, with a shell repaired, new wood inserts made and bits of the stainless trim in as new condition sourced. The shell was repainted and the grill re-assembled and fitted - and it now looks a lot better!.